
Spring으로 마이크로서비스 구축하기 (7) - Spring Cloud Config를 이용해 구성 중앙화하기
태그: Cloud, Config Server, MicroService, Spring, Spring Cloud Config
카테고리: SpringCloud
업데이트:
Spring Cloud Config란?
Spring Cloud Config는 분산 시스템에서 외부화된 설정 정보를 서버와 클라이언트에 제공하는 시스템입니다.
기본적으로 Git에 설정 정보를 저장하도록 되어있어 레이블이 지정된 버전의 구성 환경을 쉽게 지원할 뿐만 아니라 콘텐츠 관리를 위한 다양한 도구에 액세스할 수 있습니다.
Spring Cloud Config의 장단점
장점
- 여러 서버의 성정 파일을 중앙 서버에서 관리할 수 있습니다.
- 서버를 재배포 하지 않고 설정 파일의 변경사항을 반영할 수 있습니다.
단점
- Git 서버 또는 설정 서버에 의해 장애가 전파될 수 있습니다.
- 우선 순위에 의해 설정 정보가 덮어쒸어질 수 있다.
Config의 읽는 순서
Config의 경우 아래 순서대로 정보를 읽어오기 때문에 읽는 순서가 빠른 정보의 경우 덮어씌어질 수 있습니다.
-
프로젝트의 applicaiton.yml
-
설정 저장소의 application.yml
-
프로젝트의 application-{profile}.yml
-
설정 저장소의 application-{profile}.yml
Config Server 구현하기
프로젝트 생성하기

프로젝트를 추가로 생성했을 때 프로젝트 구조는 다음과 같아집니다.
[Project Root]
 |-- gradle
 |
 |-- api
 |-- microservices
 |   |-- config-service
 |   |-- gateway-service
 |   |-- composite
 |   |-- post-service
 |   |-- comment-service
 |   '-- user-serivce
 |-- util
 |
 |-- .gitignore
 |-- gradlew
 |-- gradlew.bat
 '-- settings.gradle
부필요한 Gradle 제거
프로젝트를 추가적으로 생성했으니 지난번과 동일하게 불필요한 gradle 파일을 제거해줍니다.
find microservices -depth -name "gradle" -exec rm -rfv "{}" \;
find microservices -depth -name "gradlew*" -exec rm -rf "{}" \;
settings.gradle 설정하기
config-service또한 일괄적으로 빌드하기 위해 settings.gradle에 추가해줍니다.
include ':api'
include ':util'

include ':microservices:config-service'
include ':microservices:gateway-service'
include ':microservices:composite'
include ':microservices:comment-service'
include ':microservices:post-service'
include ':microservices:user-service'
EnableConfigServer Annotation 설정하기
spring cloud config 서버를 활성화하기 위해서는 다음과 같이 @EnableConfigServer Annotation을 통해 활성화해줘야 합니다.
@EnableConfigServer
@SpringBootApplication
public class ConfigServiceApplication {

    public static void main(String[] args) {
        SpringApplication.run(ConfigServiceApplication.class, args);
    }

}
application.yml 설정하기
Cofig 파일을 Git Repository에서 관리하기 위해서는 다음과 같이 spring.cloud.config.server.git.uri속성으로 git repository를 설정해줍니다.
server:
  port: 8888

spring:
  application:
    name: config-service
  cloud:
    config:
      server:
        git:
          uri: https://github.com/KangHyeon3315/MicroBlogConfig.git # Git Repository URI
Config 정보 저장하기
이제 github에 config 파일을 저장하기 위해 Repository를 생성하고 다음과 같이 config 파일을 작성해 줍니다.
<application-name>-<profile>.yml형식으로 저장해줍니다.
우선 테스트를 위해 다음과 같이 composite-service-dev.yml를 작성해줍니다.
my:
    property: TestValue
Private Repository인 경우
이떄 Git Repository가 Private Repository인 경우 다음과 같이 SSH 키를 등록하고 application.yml에 공개키를 작성해줘야 합니다.
-
키 생성하기
우선 첫번째로, ssh-keygen 명령어를 통해 ssh 공개키와 개인키를 생성해줍니다.$ sudo ssh-keygen -f myKey # 공개키 / 개인키 생성 $ cat myKey.pub # 공개키 확인 $ cat myKey # 개인키 확인 -
키 등록하기
Github에서 Setting > SSH and GPG Keys > New SSH Key를 눌러 공개키를 등록해줍니다.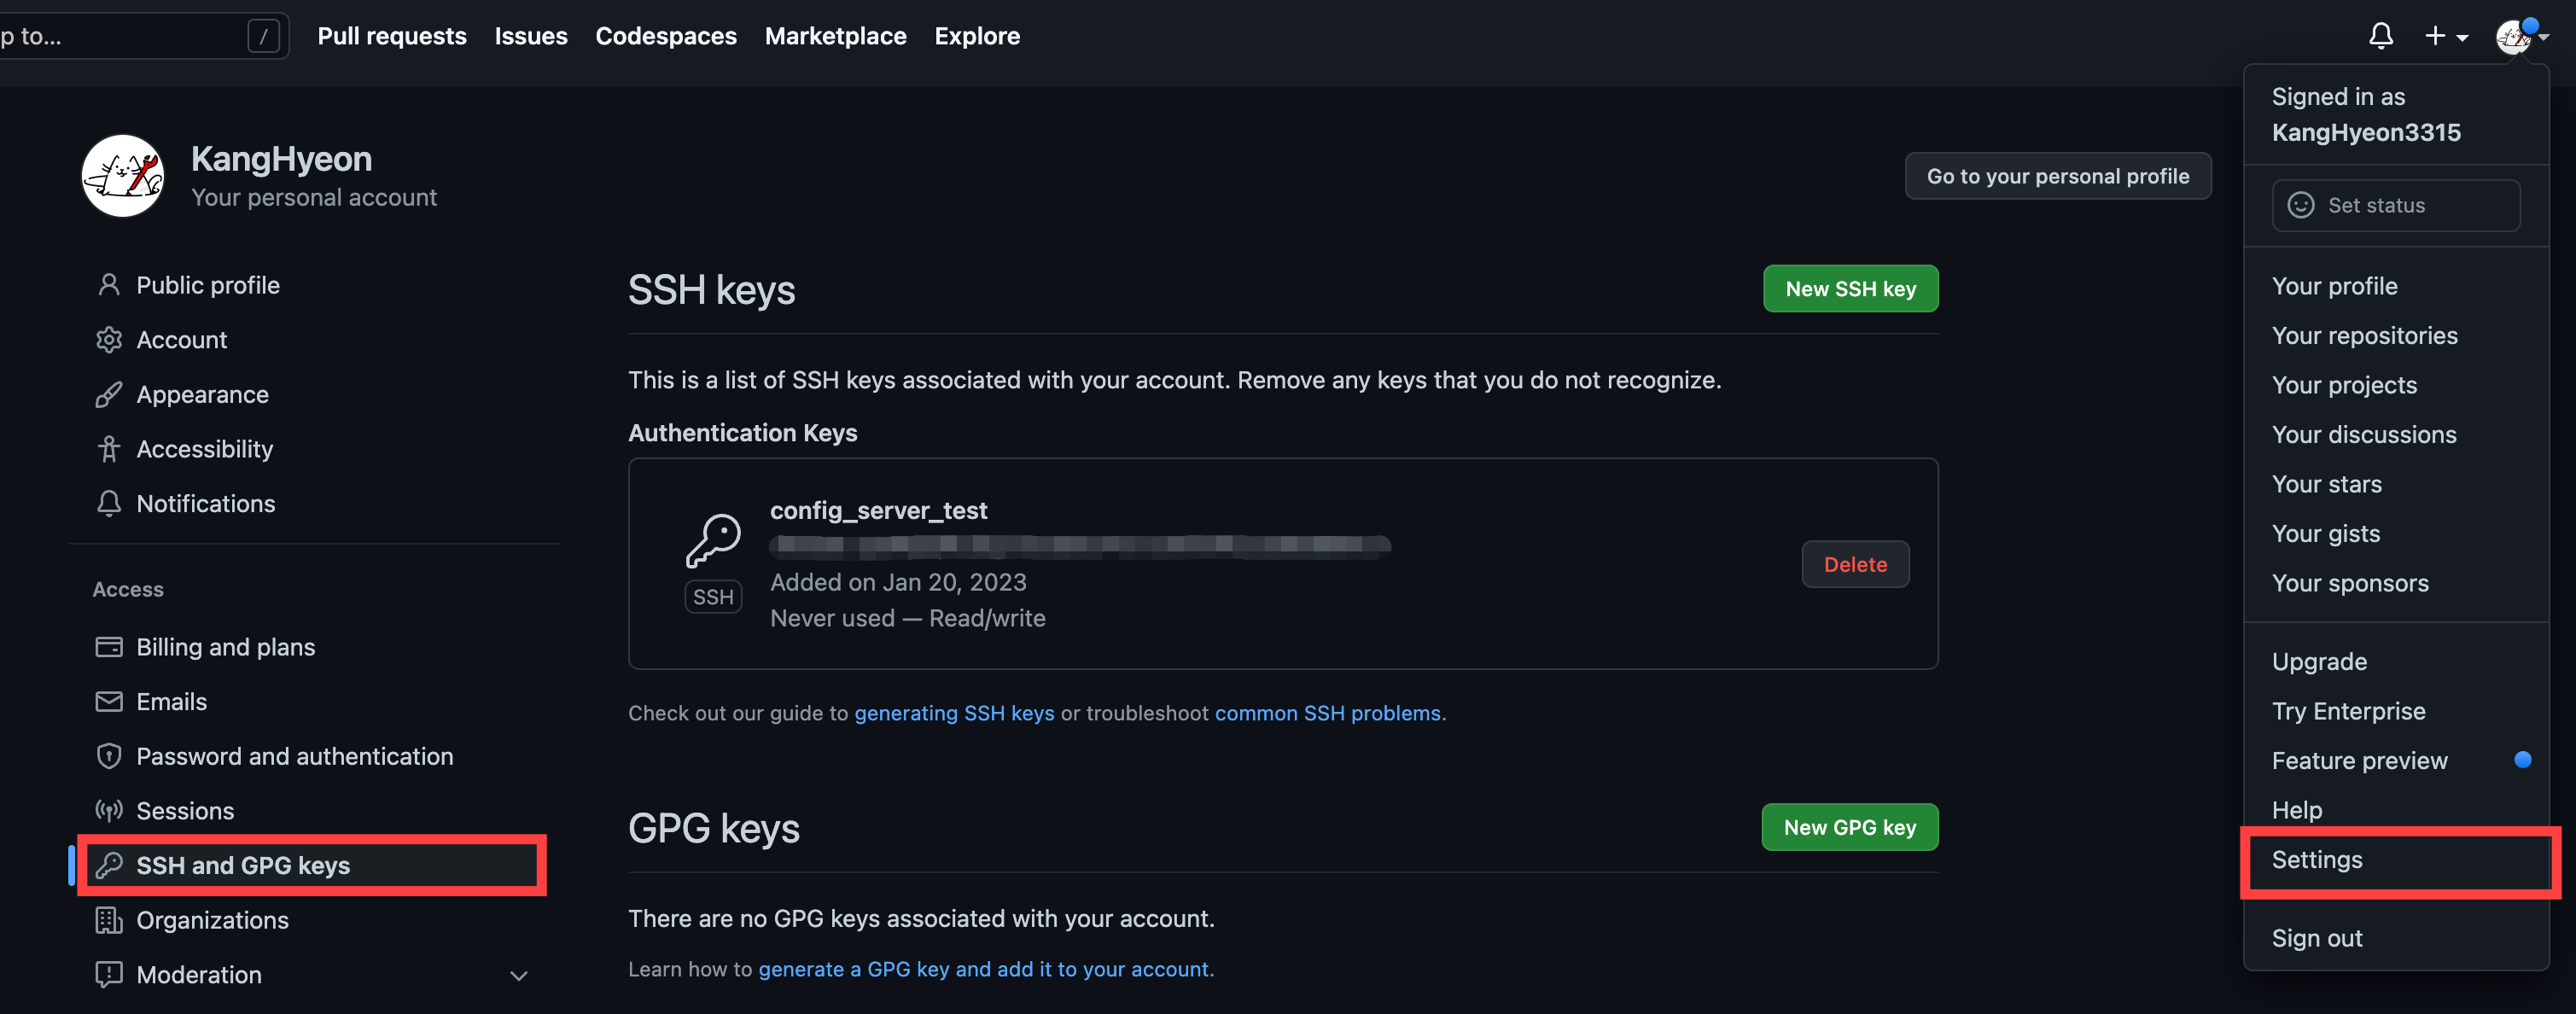
-
application.yml 설정
이제 application.yml에 개인키를 추가해주고 uri를 HTTP 주소에서 SSH 주소로 수정해줍니다.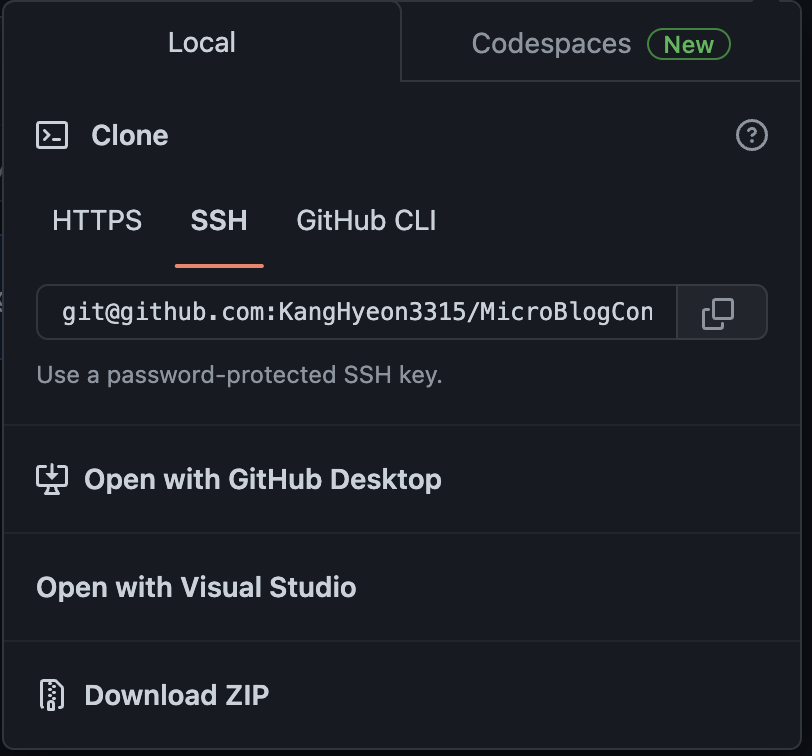
 spring:
   cloud:
     config:
       server:
         git:
           uri: git@github.com:KangHyeon3315/MicroBlogConfig.git # SSH 주소
           ignore-local-ssh-settings: true
           private-key: |
               -----BEGIN OPENSSH PRIVATE KEY-----
               ...
               -----END OPENSSH PRIVATE KEY-----
Config Server의 Docker화
이제 Config Server를 Docker로 구동하도록 설정해보겠습니다.
Dockerfile 작성
우선 Config 서버의 Dockerfile을 다음과 같이 작성해줍니다.
FROM openjdk:17-jdk

EXPOSE 8888

ADD ./build/libs/config-service-0.0.1-SNAPSHOT.jar app.jar

ENTRYPOINT ["java", "-jar", "/app.jar"]
Docker-Compose 작성
그리고 docker-compose에 config 서버를 추가해줍니다.
이때, config client는 config server가 구동된 이후에 구동되도록 설정해야합니다.
따라서, config 서버가 정상적으로 구동됐는지 검사하기위해 healthcheck 속성을 다음과 같이 작성해줍니다.
  config:
    build: microservices/config-service
    mem_limit: 350m

    environment:
        - SPRING_PROFILES_ACTIVE=docker

    healthcheck:
      test: [ "CMD-SHELL", "curl --fail http://config:8888/actuator || exit 1" ]
      interval: 1s
      timeout: 1s
      retries: 10
Config Client 설정하기
우선 Config Client에서 Config 정보를 요청하기 위해서는 다음 의존성을 추가해줍니다.
implementation 'org.springframework.cloud:spring-cloud-starter-config'
그리고 다음과 같이 개발 환경 및 docker 환경에서만 config 정보를 가져오도록 profile을 이용해 다음과 같이 설정합니다.
# application.yml

server:
  port: 8000
  error:
    include-message: always

logging:
  level:
    root: info
    com:
      microblog: debug

spring:
  application:
    name: composite-service

  config:
    import: "optional:configserver:"


  cloud:
    consul:
      host: localhost
      port: 8500
# application-dev.yml

spring:
  cloud:
    config:
      uri: http://localhost:8888
      fail-fast: true
      retry:
        initial-interval: 3000
        multiplier: 1.3
        max-interval: 10000
        max-attempts: 20
      profile: dev
# application-docker.yml

spring:
  cloud:
    consul:
      host: consul

    config:
      uri: http://config:8888

server:
  port: 8080
Config 정보 가져오기
이제 config 정보를 가져오도록 다음과 같이 @Value Annotation을 이용해 작성하고 실행하면 정상적으로 프로퍼티를 가져오는 것을 확인 할 수 있습니다.
@RestController
public class CompositeControllerImpl {
    // 생략

    @Value("${my.property}")
    private String myProperty;

    // 생략

    @Override
    public PostComposite getPost(int postId) throws Exception {
        try {
            Post post = getPostFromPostService(postId);
            List<Comment> comments = getCommentFromCommentService(postId);

            return new PostComposite(postId, post.getTitle(), post.getAuthor(), post.getContents() + " " + myProperty, comments);
        } catch (HttpClientErrorException ex) {
            // 생략
        }

    }
}
Test 설정하기
Test 상황에서는 Config 서버에 의존적이지 않아야합니다. Test 환경에서 Config 서버가 실행하고 있지 않을 수 있기 때문입니다.
따라서 다음과 같이 test profile을 작성하고 불러오도록 구현하겠습니다.
# /src/test/resources/application-test.yml

spring:
  config:
    import: ""

  cloud:
    config:
      uri: ""
      fail-fast: true
      retry:
        initial-interval: 3000
        multiplier: 1.3
        max-interval: 10000
        max-attempts: 20
      profile: ""
이제 테스트를 수행할 때 다음과 같이 @ActiveProfiles Annotation을 통해 test profile을 활성화하면 됩니다.
@WebMvcTest
@ActiveProfiles("test")
@ExtendWith(RestDocumentationExtension.class)
public class CompositeControllerImplTest {
  // 생략
}
Docker-Compose 수정하기
마지막으로 Docker Compose에서 일괄적으로 Docker를 실행할 때 Config 서버가 실행 완료된 상태에서 Client들이 실행되어야 합니다.
따라서 Compose 파일을 다음과 같이 작성해 실행 순서를 지정합니다.
composite:
  build: microservices/composite
  mem_limit: 350m
  environment:
    - SPRING_PROFILES_ACTIVE=docker

  # 추가
  restart: on-failure
  depends_on:
    config:
      condition: service_healthy
참고 및 출처
- 매그너스 라슨. 『스프링으로하는 마이크로서비스 구축』. 에이콘, 2019.
- Spring Cloud Config Docs
- Spring Cloud Config 도입하기 및 private 레포지토리 SSL로 연결 설정 예시
- Spring Cloud Config Server를 Private Repository와 연동
- Github SSH Key 등록하기
- Spring: @Configuration 및 @ConfigurationProperties 주석을 결합할 때 잘못된 오류 발생
- [Spring Cloud] Spring Cloud Config Server, Client 설정하기
- [SOLVED]-DISABLE CONFIG SERVICE CLIENT ACTIVATED WITH SPRING.CONFIG.IMPORT IN SPRINGBOOTTEST-SPRINGBOOT
댓글남기기